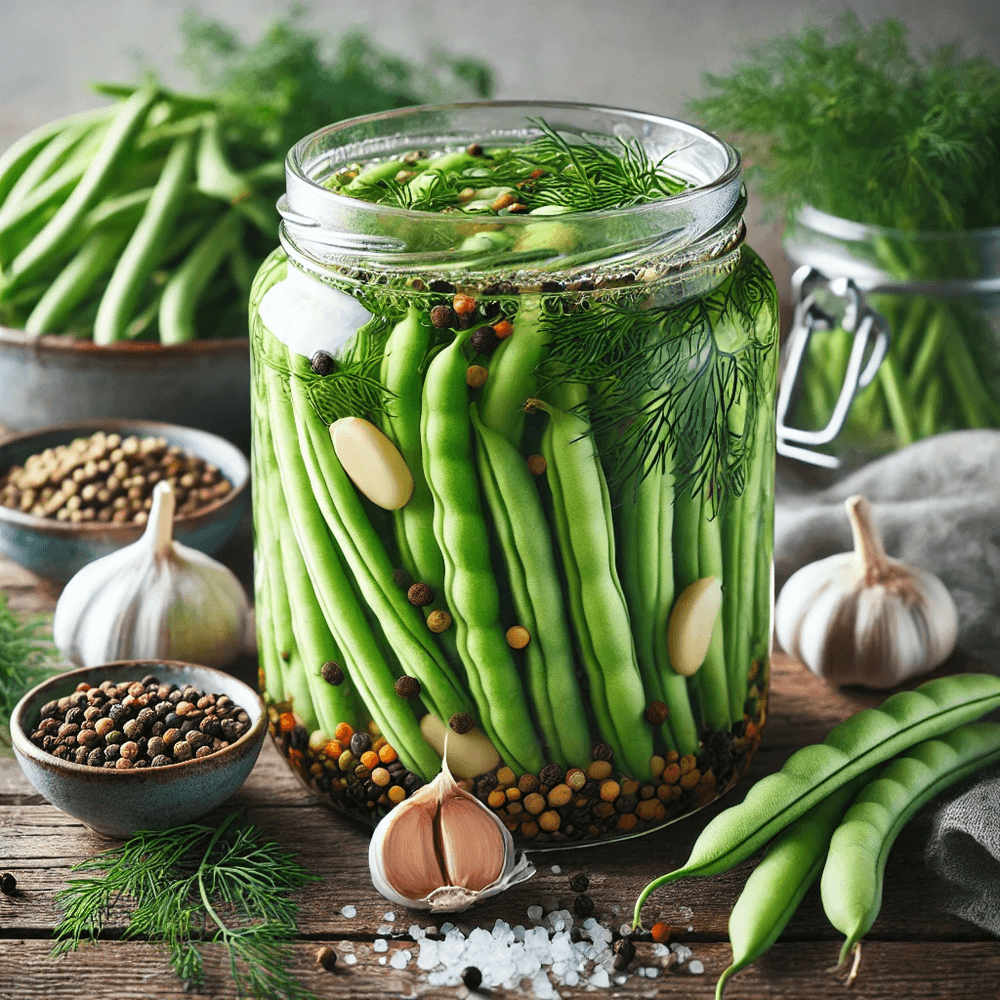
Fermented Dilly Beans
Published: January 1, 2024 | Total Time: 7 days 15 min

* recipe image may have been created by generative AI
Shopping Mode
Ingredients
| 1 quart (or 12 oz bag) Fresh Green Beans, trimmed |
| 4 to 5 Garlic Cloves |
| 2 count Dill Flower Heads(or 2 sprigs fresh dill and 1 tbsp dill seeds) |
| 1 to 2 Bay Leaves |
| 1 tsp Mustard Seeds |
| 1 tsp Black Peppercorns |
| 1 count Small Hot Pepper, optional |
| 1 tbsp Kosher, Pickling, or Sea Salt, not iodized |
| 2 cups Water |
Directions
- Pack the trimmed green beans, garlic, dill, bay leaves, mustard seeds, peppercorns, and optional hot pepper into a quart-sized mason jar.
- In a separate container, mix the salt into the water to create the brine, stirring until fully dissolved.
- Pour the brine over the beans in the jar, ensuring all ingredients are fully submerged.
- Place a fermentation weight on top to keep the green beans under the brine.
- Cover the jar with a clean cloth secured with a rubber band and place it in a dark, room-temperature area of your kitchen.
- After 7 days, taste the beans to check if they have reached the desired level of fermentation. If they are still too crunchy, allow them to ferment for up to another week.
- Once the beans have reached the desired texture and flavor, cap the jar with a lid and store in the refrigerator.
Tips:
- If this is your first time fermenting, I would recommend watching a video such as this one to become aquainted with the process The Process of Fermentation
- The only ingredient in salt should be "salt". Using salt with anti-caking agents or other things can risk the ferment.
- Packing the beans upright in the jar allows for a more efficient fit and an aesthetically pleasing look.
- If your kitchen is particularly cold, the fermentation process may take longer than a week.
- Store the finished fermented beans in the refrigerator for extended shelf life.